|
 
Selene.
play/stop MP3
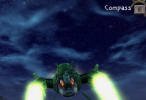
 | Use the stellar drive to go to the moon. |
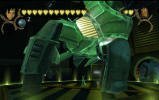
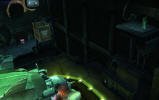
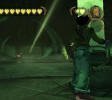
| Cutscene: Moonbase. |
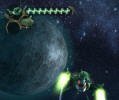 

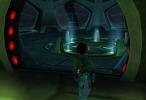
| Enter through the transmitter base. |
| Cutscene: landing.
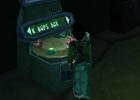
 | Take the AP1 from the vending machine. |
|
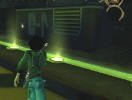
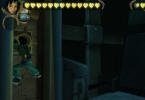
| At the wall with the raised bridge, jump up the several steps until you
can't go any further. |
| Action button, to have the crate come to you. |
| Jump up, action button, jump down when the crate is above the spaceship. |
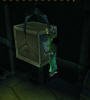
| Walk to the top of the Beluga. |
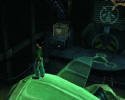
| Look for the push button in a corner, under a hanging crate.
| Shoot the button, to get this crate come to the Beluga. |
|
| Stand close to the crate,
| shoot the button again, |
| jump up before the crate starts moving. |
| jump off when the crate is down. |
|
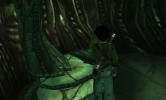
| Go to the other side of the platform and turn the wheel to get the bridge
down. |
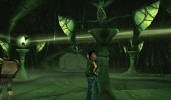
| Go to the other side of the landing room. |
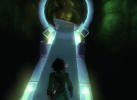
| Action button to go down to the Domz base. |
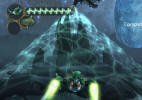
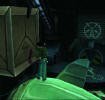
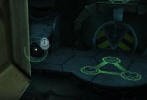
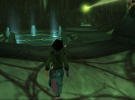
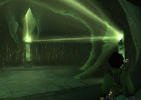
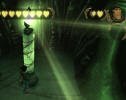
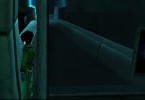
| Go to the end of the hallway, to the pillar with the lighted mirror. |
| Turn the lighted mirror, so the light beam shines into the long corridor
you just came from.
| This opens the door behind the elevator. |
|
| Take the spare mirror from that room. |
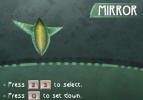
| To the left of the lighted mirror is a display where you can find
another spare mirror. |
| Place one of the mirrors on a pedestal on the other side of the first
pillar.
| A second pillar will rise. |
|
| Turn the first pillar, so it shines on this second one. |
| Turn the second pillar, to shine on a door just left of where you found
the first mirror.
| Two doors open, and the light beam shines on another mirror. |
| You can also reach this door with the first mirror, but only
one door will open. |
|
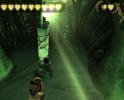
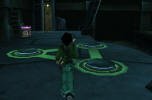
| Turn that mirror to the left to the nearby room for some extra crytals. |
| Turn it the other way into a long hall, until it hits another mirror. |
| Go there. |
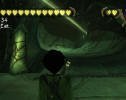
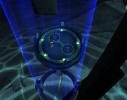
| This room contains 3 vaned mirrors, one of which is already lighted. |
| Shoot at the vanes to turn the mirror.
| Turn the 1st one to the one next to the door. |
| Turn that one on the remaining mirror. |
| Turn that 3rd mirror to shine on the door, crossing the previous light
beams. |
|
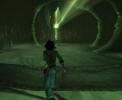
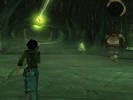
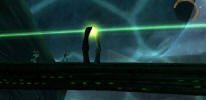
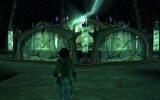
| Follow the light. |
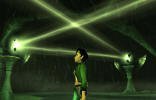
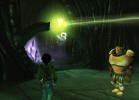
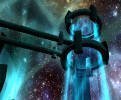
Cutscene: Long bridge. Pey'j.
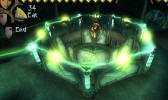
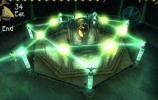
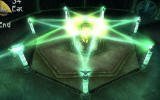
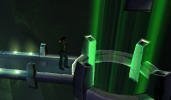
| Change the pattern of the light beam 3 times, so it covers the outermost
wall around Pey'j.
| 1st time: outside circle, skip none. |
| 2nd time: skip 1 pillar. |
| 3rd time: skip 2 pillars. |
|
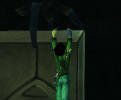
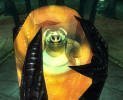
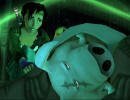
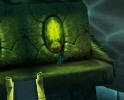
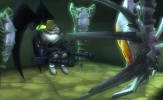
| Action button: HH destroys the shell. |
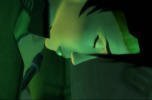
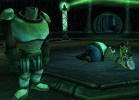
| Cutscene: Pey'j is dead. |
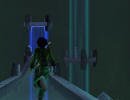
| Leave the room by squeezing through the door opening. |
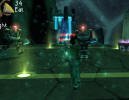
| Go to 2 guards near a transport tube. Kill them. |
| Go down the tube. |
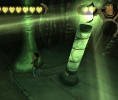
| Go inside the door on the right side of the building. |
| A set of transport tubes.
| You need to get from the bright blue to the bright green. |
|
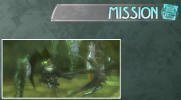
| Cutscene: the people of Hillys. |
| Take the mission picture of the general talking to the Domz. |
| Retrace your steps all the way to where HH is waiting. |
| Go back across the long bridge towards the Beluga. |
Page last modified:
September 18, 2011
 G-2b, playing the fast game. G-2b, playing the fast game.
BGAE music: ©2004 - UBISoft Montreal - Christophe Heral
Return to BGAE homepage
Return to my homepage:
www.avemariasongs.org
|
